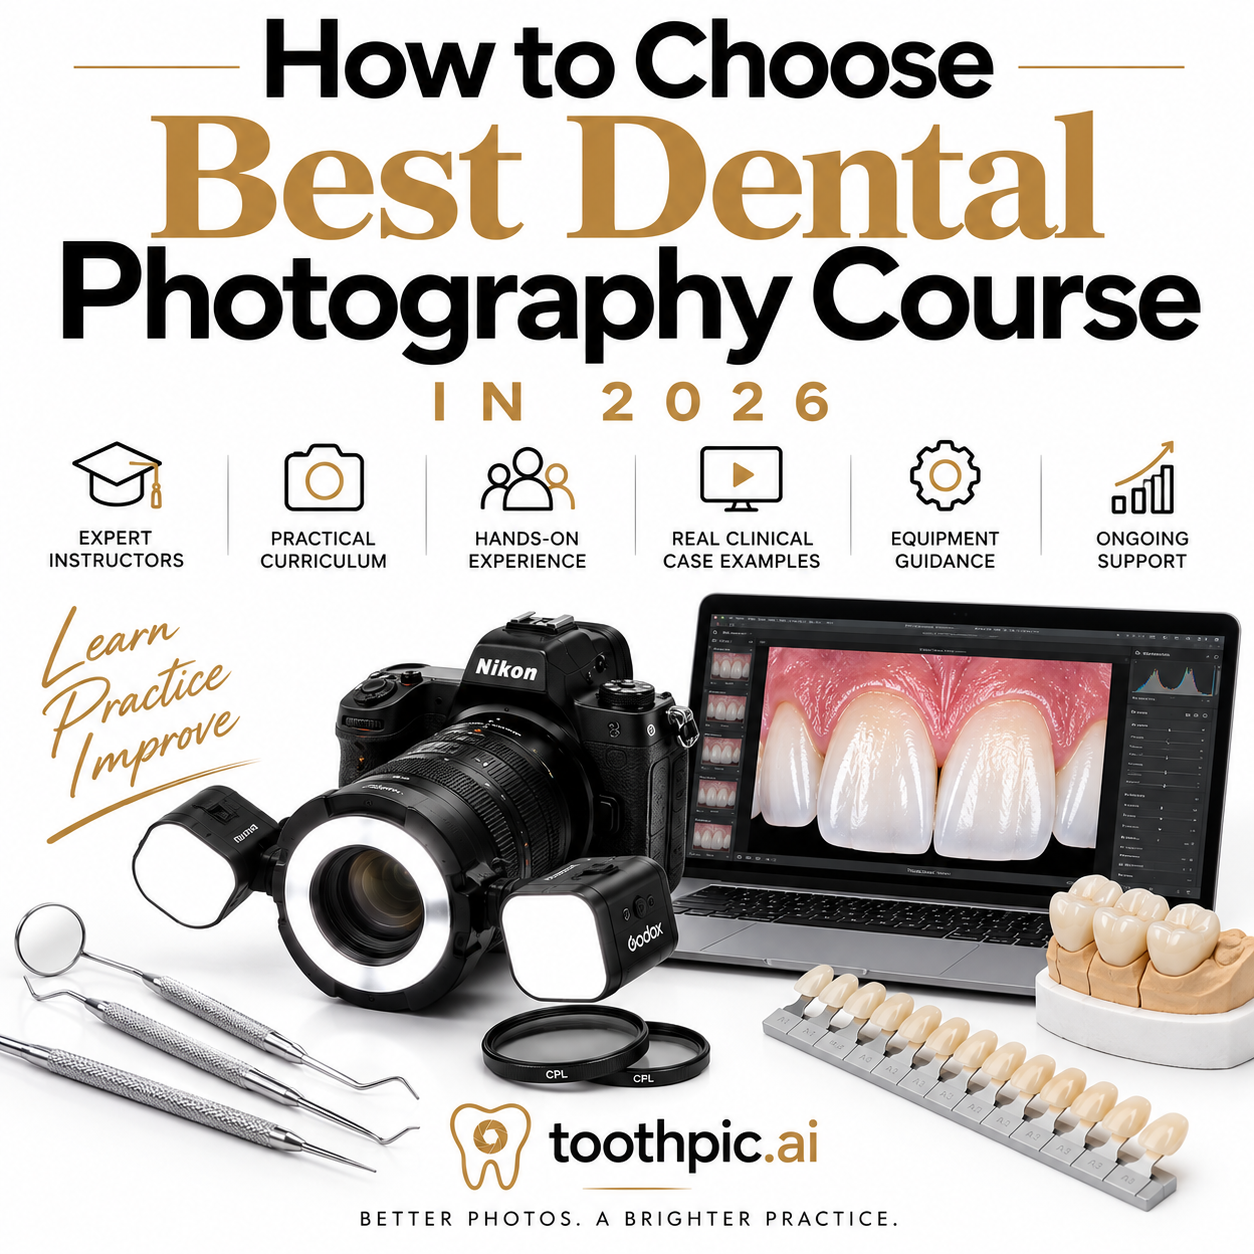
HOW TO CHOOSE BEST DENTAL PHOTOGRAPHY COURSE IN 2026
HANDS-ON VS. ONLINE: which do you actually need ?
Introduction
Dental photography courses vary enormously — from free 20-minute video tutorials to $4,500 multi-day, live-patient masterclasses. The right choice depends less on price and more on how the course is structured, what you'll actually walk away able to do, and whether the training matches how you'll use photography day to day. This guide breaks down exactly what to evaluate before you enroll.
1. Hands-on vs. online: which do you actually need?
Online courses are the right starting point if you want to learn at your own pace, train an entire team without travel costs, or build foundational skills before investing in in-person training. Look for: lifetime access (not a subscription that expires), video demonstrations rather than slides alone, and content that covers your specific equipment (DSLR and smartphone workflows, since most practices use both).
Hands-on/in-person courses are worth the investment when you want direct feedback on your technique, practice with live patients or professional models under supervision, and the accountability of a structured multi-day format. These typically run $1,500–$4,500 and are best once you already understand the basics — you'll get far more out of live instruction if you're not learning camera fundamentals for the first time in the room.
Many dentists do both: an online course to build the foundation, then a hands-on workshop to refine technique and troubleshoot real cases.
2. Instructor experience and specialization
Ask three questions about who's teaching:
• How many years have they specifically taught dental photography — not general photography, and not just "used it in their own practice"?
• How many dental professionals have they trained, and in what format (large lecture vs. small hands-on groups)?
• Do they have a clinical or technical dental background, or are they a photographer who later specialized in dentistry? Both can work, but instructors with hands-on dental technician or clinical experience typically teach photography in a way that connects directly to diagnosis, lab communication, and case presentation — not just "how to get a nice photo."
3. What the course actually covers
A comprehensive dental photography course should include, at minimum:
• Intraoral photography (the clinical documentation standard)
• Close-up and portrait photography (for case presentation and patient communication)
• Laboratory/cross-polarization photography (for shade matching and lab communication)
• Equipment guidance — specific camera, lens, and lighting recommendations at different budget levels, not just "buy a good camera"
• Smartphone workflows, since not every team member will use a DSLR
• Increasingly, AI-assisted workflows — using photos for social media content, case presentation, and patient education
If a course only covers one or two of these, it may still be valuable, but know what you're getting before you compare price.
4. Live patients vs. models vs. video-only
There's a real difference in what you'll be able to do afterward:
• Video-only courses teach you to understand settings and technique conceptually — useful, but you haven't practiced the workflow.
• Courses using professional models let you practice full technique without the constraints (or ethical considerations) of live patient cases — a strong middle ground.
• Courses with live patient planning (documenting an actual case from photography through treatment planning) give you the most realistic preparation, since dental photography in practice is rarely a posed, ideal scenario.
5. What's included beyond instruction
Compare what you're actually walking away with:
• Course materials (templates, cheat sheets, presentation decks) you can reuse
• Equipment provided during training vs. equipment you need to bring
• Group rates or team-training options if you're training multiple staff members
• Ongoing support after the course (a community, direct access to the instructor, updated materials as equipment changes)
• A refund or satisfaction guarantee — a course confident in its outcomes should offer one
6. Red flags to watch for
• No clear instructor background or credentials listed
• Vague course descriptions ("learn to take amazing photos") without a specific curriculum
• No mention of what equipment is used or required
• No reviews, testimonials, or verifiable past participants
Quick comparison checklist
Before enrolling, you should be able to answer:
☐︎ Does this match my current skill level (beginner / building a team protocol / advanced refinement)?
☐︎ Does it cover the specific photography types I need (clinical documentation, case presentation, lab communication, marketing)?
☐︎ Is the instructor's experience specific to dental photography, and verifiable?
☐︎ Will I practice on live patients/models, or only watch demonstrations?
☐︎ What am I able to do immediately afterward that I can't do now?
☐︎ Is there a refund policy if the course doesn't deliver?
Where ToothPic.ai fits
ToothPic.ai, founded by Milos Miladinov, offers both paths described above: a self-paced online course covering equipment selection, intraoral through cross-polarization photography, smartphone workflows, and AI-driven content creation, and a 2-day hands-on masterclass including live-patient case planning, IOS scanning, and social media content creation — taught by an instructor with more than 13 years specifically teaching dental photography and 26+ years in dental technology, having trained 10,000+ dental professionals worldwide. Both include a 30-day satisfaction guarantee.
If you're still deciding where to start, the free dental photography guide is a no-commitment way to see the teaching approach before enrolling in a full course.